
In digital design, AI Image Generator for Website Banners, capturing attention starts with the hero section. Traditionally, finding quality imagery meant costly photo shoots or endless stock photo searches. Now, advanced AI generators let designers instantly create custom, high-resolution hero images that match brand color palettes and themes.
This article is a masterclass for professionals looking to integrate AI into web design. Beyond basic prompt writing, we’ll explore aspect ratios, negative space, upscaling, and workflows to turn AI-generated content into a production-ready website banner.
The Paradigm Shift: Why AI Beats Stock Photography for Banners
To understand why AI tools should be at the forefront of website banner creation today, it helps to begin with the challenges faced by those relying on traditional stock photography.
The “Stock Photo Fatigue”
We have all seen the same smiling corporate team shaking hands, or the same manicured hands typing on a laptop. This visual redundancy creates “banner blindness.” Users subconsciously ignore generic images. AI allows you to inject surrealism, specific brand colors, or hyper-specific metaphors that stock libraries simply cannot provide.
The Composition Control
The greatest struggle with stock photos is composition. You find a perfect image, but the subject is in the center. When you overlay your H1 heading and Call to Action (CTA) button, the text obscures the subject, making the banner unreadable and messy.
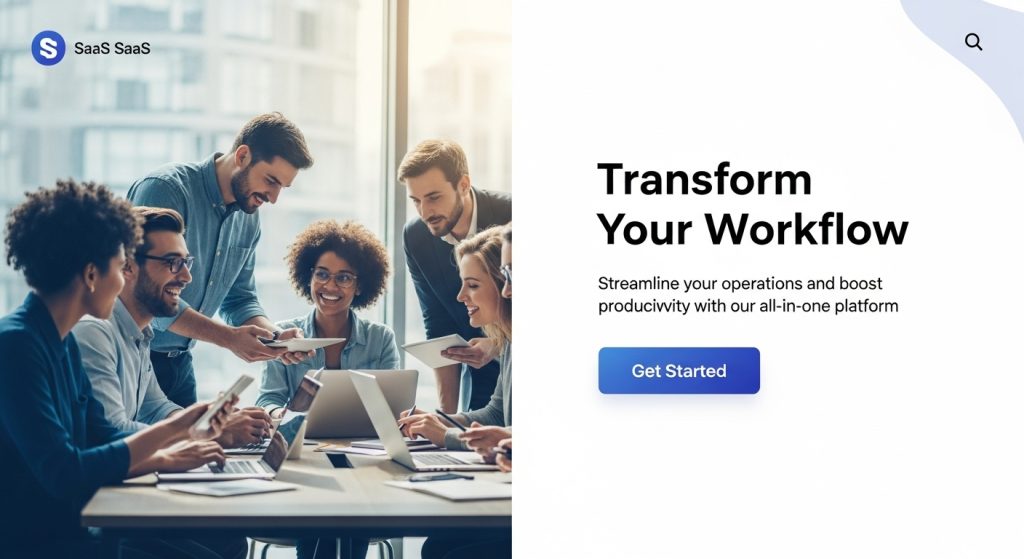
With an AI image generator, you act as the director. You can explicitly command the AI to place the subject on the far right, leaving a “clean” negative space on the left specifically for your typography. This level of compositional control was previously only available through custom photography.
Understanding the “Hero” Aspect Ratio
Before opening a tool, you must understand the canvas. Most AI generators default to a square (1:1) aspect ratio because that is how the underlying diffusion models were trained. However, website banners are panoramic.
Common Banner Dimensions
- Desktop Hero: Typically 1920×1080 (16:9) or ultra-wide 1920×600.
- Mobile Hero: Typically 1080×1920 (9:16) or square.
If you crop a square image for a desktop banner, you lose 60% of the content. So, the first rule for AI image generators and website banners is to use the native aspect ratio.
Choose tools that allow you to define the aspect ratio before generation. Alternatively, use tools with “outpainting” to extend a square image into a panoramic one.
Top AI Tools for Banner Generation: An Expert Analysis
Not all AI models are created equal. For web design, we need high resolution, prompt adherence, and specific styling capabilities. Here is a breakdown of the top contenders based on professional utility.
1. Midjourney v6 (The Aesthetic King)
Midjourney stands out for exceptional texture, lighting accuracy, and striking artistic composition. It excels in photorealism and responds well to lighting-related prompts. Compared to other tools, Midjourney typically produces more artistically rich imagery, suitable for banners that need high visual impact.
- Pros: Unmatched photorealism and artistic style. It handles lighting prompts (e.g., “volumetric lighting,” “golden hour”) better than any competitor.
- Banner Strategy: Use the –ar 16:9 or –ar 2:1 parameter to force wide outputs.
- Midjourney lets you generate an image and then “pan” left or right. This is vital for banners. You can generate a subject and then keep panning right to create an infinite background for your text overlay.
2. Adobe Firefly (The Workflow Integrator)
Adobe Firefly is designed for deep integration with Photoshop workflows, making it a top choice for professional designers who are already using Adobe tools. Unlike Midjourney, Firefly’s advantage is in enabling seamless edits and background adjustments directly within Photoshop.
- Pros: It is commercially safe (trained on Adobe Stock) and integrated directly into Photoshop via “Generative Fill.”
- This is the best tool for fixing banners. If you have a vertical image you love, drop it onto a wide canvas in Photoshop. Select the empty sides, then ask Firefly to “fill in the background.” It matches lighting and noise patterns perfectly. The tool converts a portrait into a landscape.
3. DALL-E 3 (The Prompt Adherent)
DALL-E 3, especially when accessed through ChatGPT Plus, is notable for closely following intricate prompt instructions. While Midjourney focuses on artistry and Firefly on workflow, DALL-E 3 is the go-to for precision and specific scene construction from detailed prompts.
- If you need a very specific scene—say, “A blue robot shaking hands with a green alien in a minimalist white room”—DALL-E 3 gets the elements right. Other models might hallucinate.
- The “digital art” look can sometimes feel a bit plastic compared to Midjourney. DALL-E 3 also struggles with aspect ratios wider than 16:9 natively. Achieving wider ratios usually requires some tricks.
4. Stable Diffusion (The Control Freak)
Stable Diffusion offers unmatched control for technical users. Used locally or via interfaces like Leonardo.ai, it allows for intricate customizations of image structure and composition. This tool stands apart from Midjourney, Firefly, and DALL-E 3 by prioritizing customization over out-of-the-box style or integration.
- Pros: ControlNet. This feature lets you upload a sketch or wireframe of your website layout and force the AI to generate an image that matches that exact structure. You can literally draw a box where you want your text to go and tell the AI, “do not put anything complex here.”
Strategic Prompt Engineering for Website Banners
Writing a prompt for a website banner is different from writing a prompt for digital art. You are designing a UI element, not just a pretty picture.
The “Negative Space” Formula
To ensure your text is readable, your prompt must explicitly request empty space.
- Bad Prompt: “A futuristic city office with people working.” (Result: Cluttered, busy, nowhere to put text).
- Good Prompt: “Wide-angle shot of a futuristic office, focus on a glass desk in the bottom right corner, blurred background, extensive negative space on the left side, minimalist composition, soft white lighting –ar 16:9.”
Keywords for Web Backgrounds
Incorporate these keywords to get results that work well as backgrounds:
- “Bokeh”: Creates a blurred background, separating the subject from the noise.
- “Minimalist”: Reduces clutter.
- “Knolling”: Great for product shots (top-down view of items arranged neatly).
- “Studio Lighting”: Ensures the image looks professional and not like a snapshot.
- “Unreal Engine 5”: Often triggers a cleaner, 3D-rendered look suitable for tech sites.
The Resolution Problem: Upscaling for Retina Displays
A raw generation from Midjourney or DALL-E usually tops out around 1024×1792 pixels. This looks fine on a phone. But on a 27-inch 4K monitor, especially when stretched as a hero background, it will look pixelated or blurry.
You cannot skip the upscaling step.
AI Upscaling Tools
To make an AI image production-ready, you need to use an AI upscaler that adds detail while increasing pixel count.
- Topaz Gigapixel AI: The industry standard for desktop upscaling. It recovers facial details and sharpens edges without creating artifacts.
- Magnific AI is a newer, cloud-based tool. It not only upscales but also “hallucinates” extra details, such as skin texture or leaf veins. This makes the image look like a 50MP photograph.
The Workflow:
- Generate image (approx 1080p width).
- Review for flaws.
- Upscale 2x or 4x (aiming for 3000px+ width).
- Compress (using WebP format) to ensure the website loads fast despite the high resolution.
Step-by-Step Workflow: From Concept to Code
Let’s walk through a real-world scenario. Imagine we are building a website for a premium coffee brand called “Velvet Roast.” We need a hero banner with a dark aesthetic, a steaming cup on the right, and space for white text on the left.
Step 1: Ideation and Parameter Setting
We choose Midjourney for its photorealism. We know we need a 16:9 ratio.
Prompt: Close-up commercial photography of a ceramic black coffee cup on a dark textured slate table, steam rising, dramatic rim lighting, coffee beans scattered loosely, extensive dark negative space on the left side, dark mood, 8k resolution –ar 16:9 –v 6.0 –style raw
Step 2: Curation and Outpainting
The AI generates four options. One is perfect, but the cup is too close to the center.
- Action: We use the “Pan Left” feature in Midjourney (or import to Photoshop/Firefly). We expand the canvas to the left and ask the AI to fill it with “dark textured slate table, empty.”
- Result: We now have a super-wide image (21:9) with the cup on the far right.
Step 3: Fixing Artifacts
AI often struggles with small details (text on the cup, weird spoon shapes).
- Action: Take the image into Photoshop. Use the “Remove Tool” or “Generative Fill” to wipe away any weird coffee beans or nonsensical text on the mug.
Step 4: Upscaling and Optimization
We run the image through an upscaler to scale it to 3840×2160 (4K).
- Action: Export as a WebP file at 80% quality. This keeps the file size under 200kb (crucial for SEO and load speeds) while maintaining visual fidelity.
Step 5: CSS Implementation
When handing this off to a developer (or doing it yourself), ensure the background position is set correctly.
- CSS Snippet:
CSS.hero-section { background-image: url('hero-coffee.webp'); background-size: cover; background-position: center right; /* Anchors the cup to the right */}
- This ensures that when the browser window shrinks, the “empty” left side gets cut off, but the cup (the hero subject) remains visible.
Advanced Techniques: Consistency and Branding
One of the biggest criticisms of AI is the lack of consistency. How do you ensure the style of your banner matches the style of your “About Us” page images?
Using Seed Numbers
In most diffusion models, each image has a “seed” number—a static noise pattern used to generate it. If you use the same prompt and the same seed, you get the same image. If you keep the seed but slightly alter the prompt, you get a variation that retains the lighting and style.
- Strategy: Find a seed you like. Use it for all your website assets. This acts as a “style guide” filter.
Style References (Midjourney –sref)
Midjourney v6 introduced “Style References.” You can upload an image of your brand’s color palette or a specific photographer’s style, and use the parameter –sref [url of the image].
- Application: Upload your brand’s mood board. Generate your banner. The AI will pull the color grading and texture directly from your reference, ensuring brand alignment without complex prompting.
Navigating Legal and Ethical Waters
When using an AI image generator for website banners, you are navigating a legal gray area that is still being defined. It is critical to act responsibly to protect your client or your business.
Copyright Status
As of current United States law, pure AI-generated art cannot be copyrighted. This means you do not “own” the raw image in the same way you own a photo you took. However, if you significantly modify the image using Photoshop (by a human author), the new derivative work may be eligible for protection.
Commercial Use Rights
Most paid tiers of AI services (Midjourney, DALL-E, Adobe Firefly) grant you full commercial ownership of the assets you generate. Do not use free trial versions for client work, as their terms of service often restrict commercial use. Always verify the specific T&C of the platform you are using.
The “Deepfake” Risk
Never use AI to generate the likeness of a real person (celebrity or not) for a commercial website banner without permission. This violates “Right of Publicity” laws and opens you up to immediate lawsuits. Stick to generating fictional people (which AI can do easily) to stay safe.
For authoritative guidance on the registration of works containing AI-generated material, you should review the official policy statement from the U.S. Copyright Office. Understanding these distinctions is vital for any professional claiming expertise in modern digital design.
Common Mistakes to Avoid
Even experienced designers fall into traps when switching to AI. Here is what to watch out for.
1. Text in the Image
AI is getting better at text, but it is still unreliable.
- Mistake: Asking the AI to generate the banner with the headline “Welcome to Velvet Roast” written on it.
- The Fix: Never render text in the image. It is bad for SEO (Google can’t read pixels), inaccessible to screen readers, and doesn’t scale on mobile. Generate the image only, and overlay the text using HTML/CSS.
2. Ignoring Mobile Responsiveness
A wide banner looks great on a desktop. On mobile, that 16:9 image gets cropped to a thin strip or squished.
- The Fix: You may need to generate two images. One wide (16:9) and one tall (9:16) using the same prompt/seed. Use CSS media queries to swap them out based on the device. This is a “responsive art direction” approach that elevates the user experience.
3. The “Uncanny Valley” of Hands
If your banner features people, check the hands. Extra fingers or impossible joints are dead giveaways of AI.
- The Fix: Use “Inpainting” to regenerate just the hands until they look correct, or compose the shot so hands are out of frame or holding an object.
The Future of AI in Web Design
We are rapidly moving toward dynamic generative design. In the near future, we won’t just generate a static banner. AI will generate a personalized banner for every visitor.
Imagine a travel website. If the user’s cookies suggest they like hiking, the AI generates a mountain view banner on the fly. If they like beaches, it generates a coastal scene. This level of hyper-personalization is the next frontier.
Furthermore, tools are emerging that generate “layered” PSD files. Instead of a flat image, the AI will give you the background, the subject, and the foreground elements on separate layers, allowing for parallax scrolling effects (where the background moves more slowly than the foreground) without any manual masking.
Industry-Specific Applications: Tailoring AI for Vertical Markets
While the general principles of AI generation apply universally, the strategy shifts significantly across industries. A SaaS company has different visual needs than a local bakery. Here is how experts tailor their approach for specific sectors.
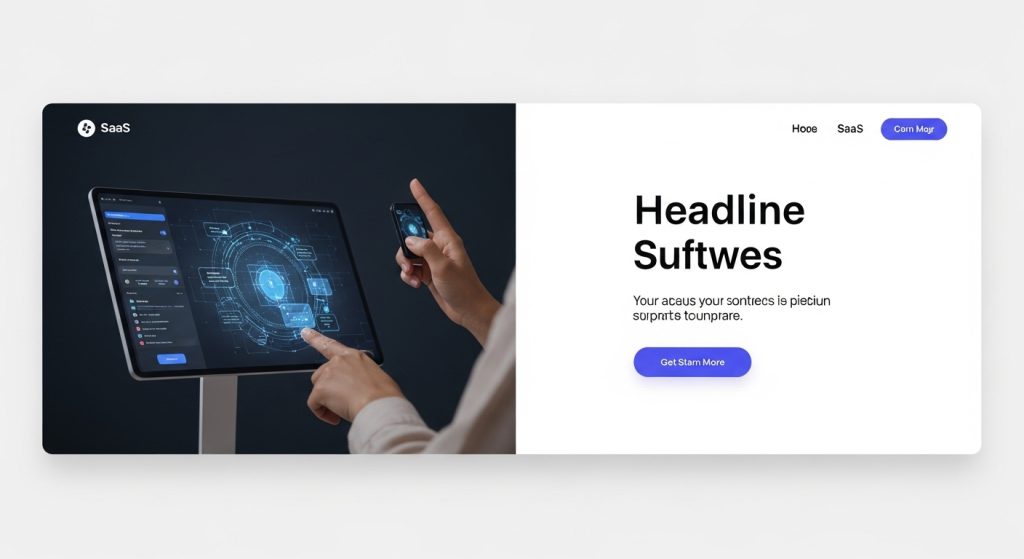
SaaS and Tech: The Abstract Metaphor
Software companies face a unique challenge: they are selling something invisible. Traditional stock photos of “people pointing at screens” are outdated.
- The AI Advantage: Use AI to visualize abstract concepts like “cybersecurity” or “cloud computing.”
- Prompt Strategy: Focus on materials and lighting rather than people. Use terms like “glassmorphism,” “isometric 3D data flow,” “glowing fiber optics,” and “matte white surfaces.”
- Example: Instead of a server room, generate “an abstract representation of a digital shield composed of glowing blue nodes, protecting a central core, minimalist white background, 3D render, octane render –ar 16:9.” This creates a visual metaphor that feels high-tech and proprietary.
Real Estate and Interior Design: Virtual Staging
For real estate websites, you cannot fake a house listing, but you can fake the lifestyle imagery for the “Neighborhood” or “About Us” sections.
- The AI Advantage: Creating “aspirational” interiors without renting a luxury home for a photoshoot.
- Prompt Strategy: Use specific architectural styles (e.g., “Mid-century modern living room,” “Scandanavian minimalist kitchen”). Crucially, add “architectural photography” and “natural sunlight” to the prompt to avoid the “video game” look.
E-Commerce: Contextual Product Backgrounds
If you sell a physical product, AI can save thousands on set design. You can take a photo of your product against a white background and use AI (specifically Adobe Firefly or Midjourney’s “vary region”) to generate a context.
- The Workflow: Photograph a hiking boot on a white table. Use AI to generate “a rocky mountain trail at sunrise, low angle.” Composite the boot onto the trail. You now have a lifestyle hero banner without leaving the studio.
The A/B Testing Revolution: Rapid Visual Iteration
The most underrated benefit of an AI image generator for website banners is the ability to perform high-velocity A/B testing (Split Testing).
In a traditional workflow, if a hero banner wasn’t converting (i.e., users weren’t clicking the CTA), replacing it was a hassle. You had to buy a new stock photo or schedule a new shoot. With AI, you can generate five distinct variations of a banner in ten minutes and test them simultaneously to see which drives the most revenue.

What to Test:
- Style: Test a “Photorealistic” version against a “3D Illustration” version.
- Color Psychology: Test a banner with a “Cool Blue” dominance against one with “Warm Orange” tones.
- Subject Matter: Test a banner featuring a person looking at the user versus a banner featuring the product alone.
Expert Tip: When A/B testing, ensure the “mood” of the image matches the “intent” of the copy. If your headline is aggressive (e.g., “Crush Your Competition”), use high-contrast, dramatic lighting. If the headline is supportive (e.g., “We Are Here to Help”), use soft, diffuse lighting. AI allows you to dial in these emotional nuances instantly.
Accessibility and SEO for AI Images
Finally, we must address the technical responsibility of using AI. Google and screen readers treat AI images exactly like photographs. To maintain high E-E-A-T scores and accessibility standards, you must handle the metadata correctly.
Writing Alt Text for AI Imagery
Do not just write “AI image” in the alt tag. Describe the content and the function of the image.
- Bad Alt Text: “Midjourney generation of a coffee cup.”
- Good Alt Text: “Steaming cup of dark roast coffee on a slate table with empty space for text, representing premium quality.”
The “Labeling” Debate
Should you label your website banners as AI-generated? Currently, there is no federal law requiring a visible watermark for standard web design, but transparency builds trust.
- Recommendation: For obvious artistic or abstract backgrounds, labeling is unnecessary. However, if the image depicts a “photorealistic” situation that could mislead a user (e.g., a fake team of doctors on a medical site), ethical design dictates that you should either use real photos or add a disclaimer in the footer.
By treating AI-generated banners not as a “shortcut” but as a sophisticated design asset requiring curation, optimization, and testing, you elevate your website from a generic template to a high-converting digital experience.
Conclusion: Embracing the Hybrid Workflow
The era of relying solely on stock photography is ending, but the era of the human designer is not. The “AI image generator for website banners” is not a replacement for creative vision; it is a multiplier of it.
The most successful websites of the future will be built by designers who master the hybrid workflow:
- Human Vision: Understanding the brand and the layout needs.
- AI Generation: Creating the raw visual material efficiently.
- Human Refinement: Upscaling, color correcting, and compositing.
By following the strategies outlined in this guide—focusing on aspect ratios, negative space, and high-resolution upscaling—you can create website visuals that are not only unique and cost-effective but visually superior to anything found in a stock library. The tools are ready; the difference lies in your ability to wield them.