The first time I successfully pulled a coherent image out of the digital ether, it felt less like computer science and more like alchemy. It was late 2022, and I was trying to visualize a specific scene for a tabletop RPG campaign I had been running for years. I wanted a “crumbling lighthouse on a purple alien coast, illuminated by bioluminescent moss.” I had spent hours searching stock photo sites and scrolling through Pinterest, finding nothing that matched the image in my head.
Then, I typed that exact phrase into a command line. Twenty seconds later, four variations appeared. One was garbage. Two were okay. But the fourth? The fourth was exactly what I had imagined, down to the texture of the moss.
Since that moment, I have generated tens of thousands of images. I have spent countless nights debugging Python scripts to run open-source models locally, and I’ve subscribed to nearly every major cloud service. I’ve watched this technology evolve from generating nightmares with seven fingers to producing photorealistic portraits that can fool professional photographers.
If you are a hobbyist, a writer, a homeowner, or just a creative tinkerer, you are living in a golden age of visualization. Finding the right AI photo generator for personal projects is no longer about finding a tool that works—it’s about finding the tool that fits your specific creative workflow.
This article is a comprehensive, honest, and experience-based guide to navigating this new world. We aren’t selling enterprise software here; we are talking about how to use these tools to fuel your personal passions.
Part 1: The Landscape of Generative AI for Hobbyists
Before we dive into prompt engineering or specific workflows, we have to understand the terrain. The market is flooded with apps that promise the world, but in reality, 95% of the “AI Art Apps” you see on the App Store are just cheap wrappers built on top of three or four core technologies.
When you are looking for an AI photo generator for personal projects, you are generally choosing between three distinct philosophies.
The “Aesthete”: Midjourney
If your personal project involves high fantasy, concept art for a novel, or anything that needs to look “artistic” by default, Midjourney is the current heavyweight champion.
- The Experience: It lives entirely within Discord (a chat app). This is a barrier for many. You have to type commands like /imagine into a chat channel.
- The Output: Midjourney has a very strong “opinion.” If you give it a vague prompt, it will fill in the gaps with beautiful lighting and composition. It is trained to make things look good.
- Best For: Book covers, album art, D&D character portraits, and inspiration where the “vibe” is more important than specific details.
The “Literalist”: DALL-E 3 (via ChatGPT)
OpenAI’s DALL-E 3 is the easiest entry point for most people.
- The Experience: It’s conversational. You talk to it like a human. You can say, “Make it more moody,” or “Remove the cat from the background.”
- The Output: It listens to instructions better than any other model. If you ask for a “blue cube on top of a red sphere next to a green pyramid,” DALL-E will nail the placement. However, it often suffers from a “plastic” or “smooth” digital look that screams “AI generated.”
- Best For: Memes, complex scenes with specific actions, greeting cards, and brainstorming sessions that require quick iteration.
The “Workshop”: Stable Diffusion
This is where the power users live. Stable Diffusion is open-source. You can run it on your own computer if you have a powerful graphics card (GPU), or use cloud-hosted versions.
- The Experience: Steep learning curve. You are dealing with terms like “checkpoints,” “LORAs,” “CFG scale,” and “sampling steps.”
- The Output: Infinite control. You can train the model on your own face. You can sketch a stick figure and turn it into a photo. You can edit specific pixels.
- Best For: Privacy (running offline), training custom models, uncensored creativity, and precise control over composition.
Part 2: Hardware vs. Cloud—What Do You Need?
One of the first questions people ask when looking for an AI photo generator for personal projects is: “Do I need a supercomputer?”
The answer is: It depends on how much control you want.
The Cloud Route (Midjourney, DALL-E, Adobe Firefly)
For 90% of personal projects, cloud generation is sufficient. You are essentially renting a supercomputer for a few seconds.
- Pros: precise access from your phone or tablet; no hardware investment; constant updates.
- Cons: Monthly subscription fees can add up (usually $10-$30/month); privacy concerns (your prompts are often visible or logged); strict censorship filters.
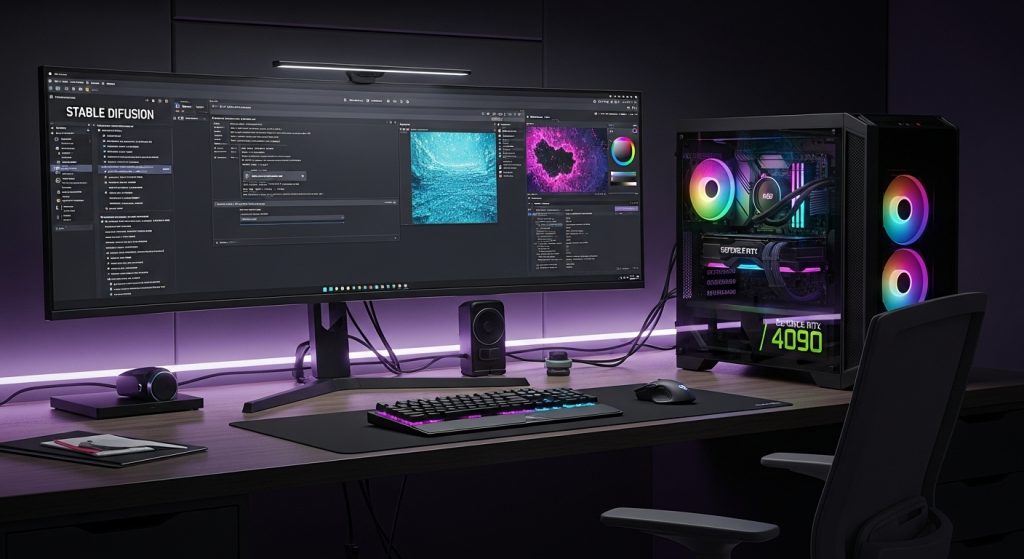
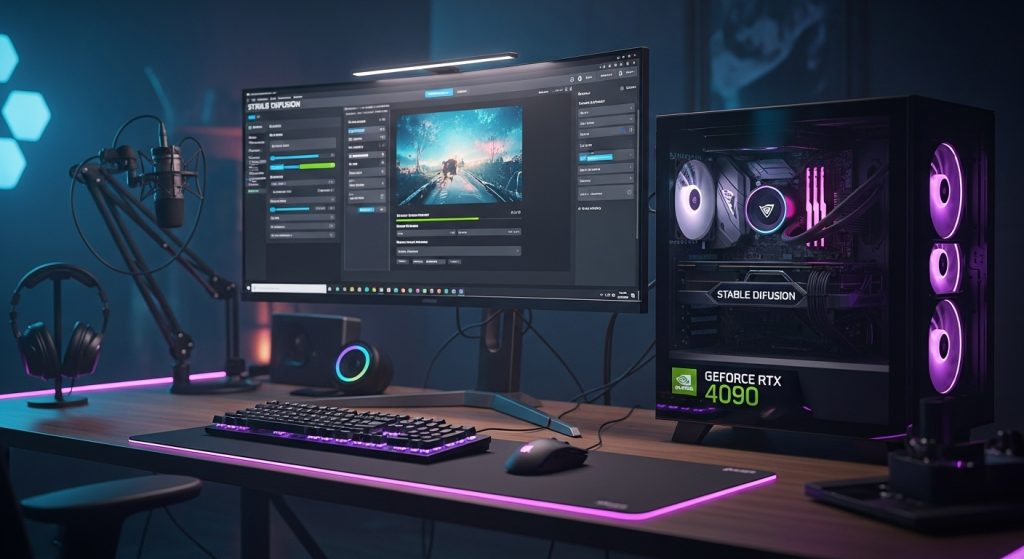
The Local Route (Stable Diffusion)
I personally run a local instance of Stable Diffusion because I hate subscriptions and I value privacy. To do this effectively in 2026, you need a PC with an NVIDIA graphics card.
- The Sweet Spot: An NVIDIA RTX 3060 (12GB VRAM) is widely considered the budget king for AI art. The RTX 4090 is the gold standard.
- Apple Silicon: You can run these models on M1/M2/M3 Macs using software like “Draw Things” or “DiffusionBee,” but it will be significantly slower than a dedicated PC GPU.
Running locally changes the game. It allows you to generate images of your own house, pets, or family members without uploading them to a corporate server. For a truly personal project, data privacy is invaluable.
Part 3: Real-World Use Cases for Personal Projects
Let’s move away from theory and talk about practice. How does an AI photo generator for personal projects actually fit into a creative life? Here are four detailed workflows based on real things I—and others in the community—have done.
Case Study 1: The Home Renovator
My partner and I were recently debating whether to paint our kitchen cabinets navy blue or sage green. Paint swatches are tiny, and imagination is unreliable.
- The Method: I took a photo of our current kitchen. I brought it into an AI tool using a technique called “Inpainting” (available in Adobe Firefly and Stable Diffusion).
- The Process: I used a digital brush to “mask” over the cabinets. I then typed the prompt: “modern shaker style cabinets, navy blue matte finish, brass hardware.”
- The Result: The AI kept the room’s lighting, the messy countertop, and the flooring exactly as they were, but swapped the cabinets. We immediately saw that navy blue made the room look like a cave. We went with sage green.
- Why AI Wins Here: It respects the lighting conditions of your specific room, something a generic Pinterest search can never do.
Case Study 2: The Tabletop Gamer (D&D/Pathfinder)
I have a folder on my hard drive filled with 300+ portraits of NPCs (Non-Player Characters).
- The Problem: Finding consistent art for a niche concept. Try finding a “Cyberpunk Orc who works as a sushi chef” on Google Images.
- The Method: I use Midjourney for this because it handles fantasy tropes beautifully.
- The Prompt Strategy: “Portrait of a green-skinned Orc male, wearing a white chef coat and headband, holding a sushi knife, neon lights in background, cyberpunk aesthetic, detailed scars, serious expression –ar 2:3 –niji 6.”
- The Twist: To make them look like a cohesive set, I reuse the same “Style Reference” or prompt suffixes (e.g., “oil painting style, thick brushstrokes”) for every character in the campaign. My players feel like they are playing a high-budget video game because the art style never breaks.
Case Study 3: The Self-Published Author
I have a friend who writes cozy mysteries. She wanted to visualize her protagonist’s small-town bakery for her own reference while writing.
- The Method: She used DALL-E 3 for its ability to handle multiple objects.
- The Process: She described the bakery in excruciating detail: “A wide shot of a cozy bakery interior, checkered floor, display case full of croissants on the left, a cat sleeping on the register, rain outside the window, warm yellow lighting.”
- The Value: She doesn’t use these images for the book cover (due to market stigma and copyright issues), but she prints them out and tapes them to her monitor. It keeps her grounded in the setting she created. It resolves “writer’s block” by giving the brain a visual anchor.
Case Study 4: Custom Party Invites and Gifts
For a family reunion, I wanted to make a “wanted poster” style invitation featuring my grandfather from an old photo.
- The Method: This required a tool like “InsightFace” (a Stable Diffusion plugin) or a specialized app for face swapping.
- The Process: I generated a vintage 1800s cowboy body. Then, using the face-swap tech, I mapped my grandfather’s face onto the cowboy.
- The Result: It was hilarious, high-resolution, and something that would have taken me 6 hours in Photoshop to do manually. With AI, it took 15 minutes.
Part 4: The Art of the Prompt (Speaking the Language)
Using an AI photo generator for personal projects effectively requires you to learn a new language. We call it “Prompt Engineering,” but I prefer “Visual Description.”
The AI doesn’t know what a “cool car” is. It knows what pixels are statistically associated with the words “cool” and “car.” To get what you want, you need to be a director, a lighting technician, and a photographer all at once.
The Sandwich Method
I teach this method to everyone starting out. Structure your prompt like a sandwich.
- The Meat (Subject): A vintage robot gardener.
- The Bread (Style & Medium): Oil painting on canvas, impasto texture OR Polaroid photograph, flash photography.
- The Condiments (Details & Vibe): Rusted metal, holding a red rose, melancholic atmosphere, soft morning mist, cinematic lighting.
Lighting is Everything
If your images look flat or boring, it is almost always a lighting issue. Try adding these terms to your prompts:
- Volumetric Lighting: Creates those “god rays” or dusty beams of light.
- Rim Lighting: Adds a glowing outline to the subject, separating them from the background.
- Chiaroscuro: High contrast between light and dark (very dramatic/moody).
- Golden Hour: Warm, soft, sunset light.
Camera Angles and Lenses
The AI understands photography gear.
- “Shot on 35mm”: Gives a classic movie look.
- “Macro Lens”: Extreme close-up, blurring the background.
- “Fish-eye Lens”: Distorted, wide view (great for 90s skater vibes).
- “Bokeh”: That creamy, blurry background effect.
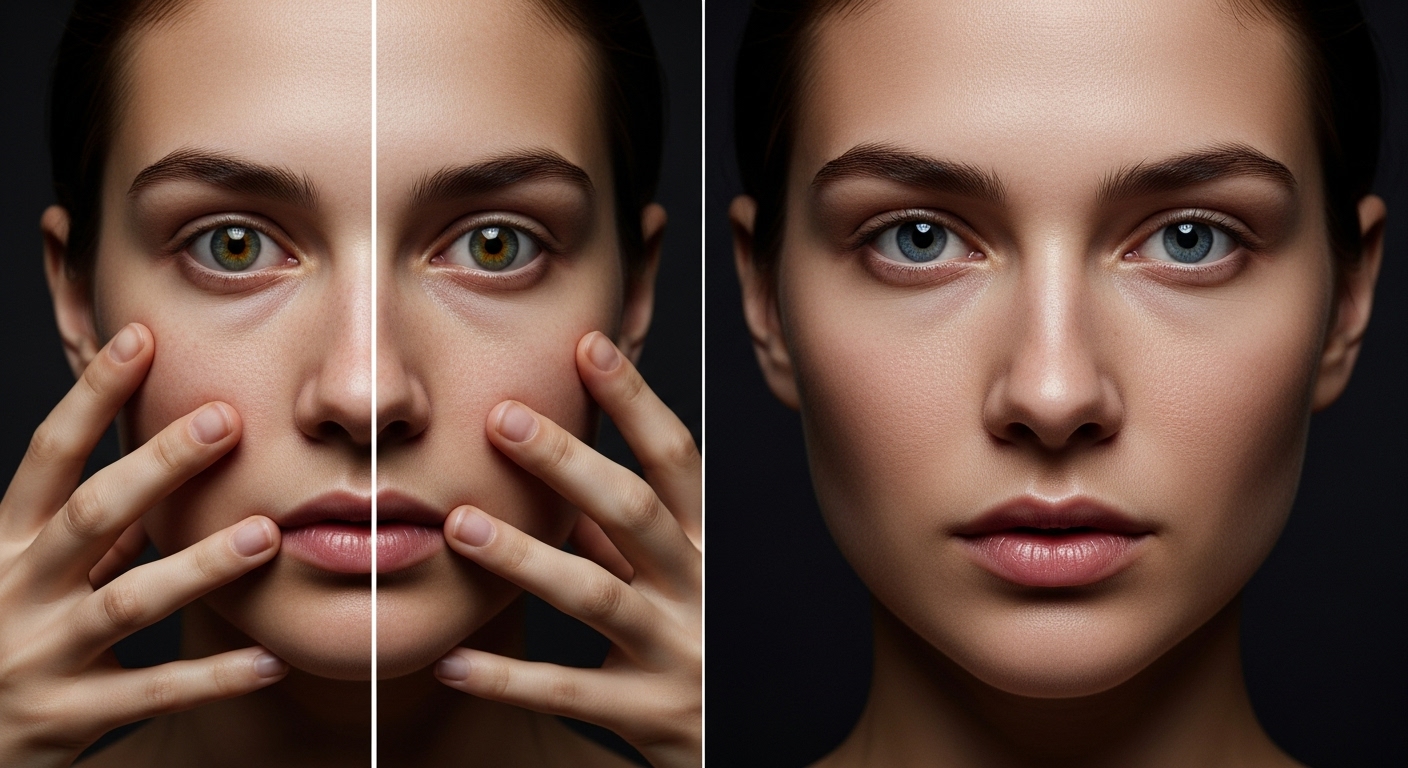
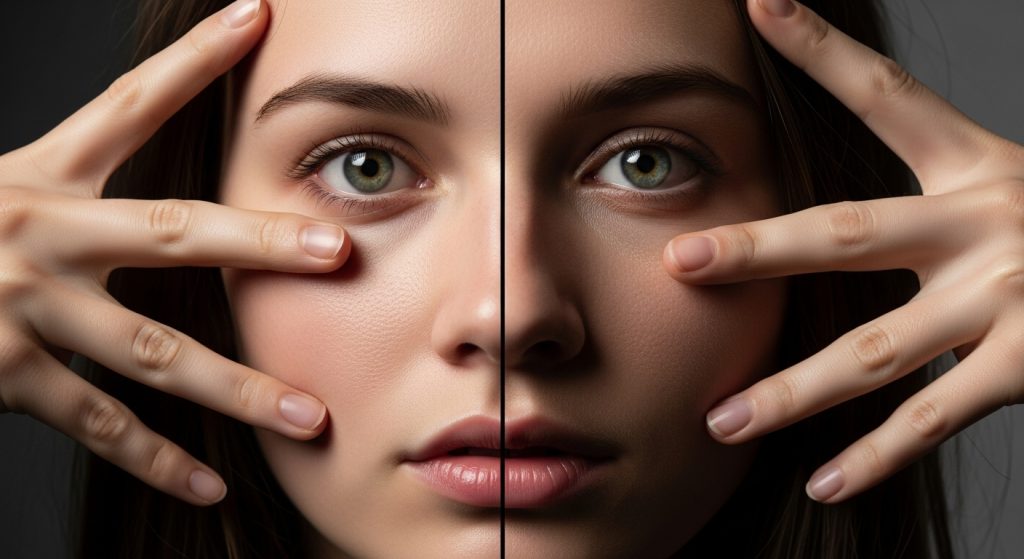
Part 5: The “Uncanny Valley” and How to Fix It
Even the best AI photo generator for personal projects will fail you. You will have six fingers. You will get text that looks like alien hieroglyphics. You will get eyes that look in two directions at once.
Here is how a seasoned user handles these glitches without giving up.
1. Inpainting (The Magic Eraser)
Never throw away a mostly good image just because of one glitch. Inpainting allows you to highlight the “bad part” (like a messed-up hand) and tell the AI to regenerate only that specific area.
- Prompt for fix: “A human hand, detailed, five fingers.”
This is the secret to professional-looking AI art. It is rarely “one-shot” perfection; it is a process of iteration.
2. Upscaling
AI generators usually output images at relatively low resolutions (like 1024×1024 pixels). If you want to print your project—say, for a poster or a framed picture—you need to Upscale.
- Don’t just stretch the image in Photoshop; it will look pixelated.
- Use AI Upscalers (like Topaz Gigapixel) or free, open-source alternatives like “Ultimate SD Upscale”. These tools add detail while enlarging the image, keeping lines crisp.
3. Photoshop is Still King
The best AI artists are usually also decent Photoshop users. Using AI to generate a background, another AI-generated character, and then compositing them in Photoshop usually yields better results than trying to get the prompt to do everything at once. Treat the AI as a source of assets, not just finished images.
Part 6: Ethical Considerations for the Hobbyist
We cannot discuss this topic without addressing the elephant in the room. AI image generators are controversial. They were trained on billions of images scraped from the internet, often without the consent of the original creators.
As someone using an AI photo generator for personal projects, how do you navigate this ethically?
1. Avoid “In the Style of [Living Artist].”
It is technically possible to prompt “in the style of [Current Popular Concept Artist].” I strongly advise against this. It directly competes with that artist’s identity.
- The Ethical Alternative: Prompt for art movements (e.g., “Art Deco,” “Surrealism,” “Ukiyo-e,” “1980s Anime Style”) or dead masters (e.g., “Van Gogh,” “Rembrandt”). This draws on broad cultural history rather than mimicking a specific person’s livelihood.
2. Be Transparent
If you share your creations on social media, tag them as AI. There is no shame in using these tools, but passing them off as hand-painted work is deceptive and damages trust in the creative community.
3. Understand Copyright
As of the current legal standing in the US (2026), you cannot copyright purely AI-generated images. This means that if you generate a logo for your personal blog using Midjourney, you do not own it in the traditional sense. Anyone else could theoretically use it. For personal projects, this rarely matters, but if your personal project turns into a business, this is a crucial distinction.
Part 7: The Psychological Benefit of Visualization
Why do we do this? Why spend hours tweaking prompts?
For me, and for many hobbyists, the barrier to creation used to be technical skill. I have wonderful ideas for sci-fi cities, but my hand cannot draw a straight line. I can describe the feeling of a haunted house, but I cannot paint lighting textures.
An AI photo generator for personal projects dismantles the barrier between imagining and seeing.
I remember generating a concept image for a childhood story I wrote 20 years ago. Seeing the characters “come to life” with realistic textures and expressions was a profoundly emotional moment. It validated the idea. It made the world feel real.
Whether you are visualizing a dream garden, designing a tattoo before you commit to the ink, or just making weird surrealist art to unwind after work, these tools offer a new form of play. It is a collaboration between your human intent and the machine’s vast database of patterns.
Conclusion: Starting Your Journey
If you are ready to start, here is my final advice:
- Start with Bing Image Creator: It uses DALL-E 3, it is free (with limits), and it requires no setup. It is the best way to dip your toe in.
- Be Patient: Your first 50 images will probably look bad. That is normal. You are learning an instrument.
- Save Your Prompts: When you get a great result, save the text file. That prompt is your recipe.
- Have Fun: Don’t get bogged down in the “is it art?” debate. If it brings you joy, helps you plan a project, or tells a story, it is valuable.
The right AI photo generator for personal projects is the one that gets out of your way and lets you dream. The technology is moving fast—what was impossible six months ago is standard today. So, jump in, start experimenting, and see what you can pull out of the latent space. The only limit, genuinely, is your vocabulary.