I remember the exact moment I realized my video content wasn’t the problem—my packaging was. I had spent three days editing a documentary-style piece for a client’s YouTube channel. The pacing was snappy, the color grading was lush, and the narrative hook was immediate. We published it, high-fived, and waited for the views to roll in.
They didn’t
The Click-Through Rate (CTR) was dismal at 1.8%. In the YouTube analytics dashboard, that number stares back at you like an accusation. It wasn’t until we pulled the video, spent two hours redesigning the thumbnail using a blend of psychological triggers and compositing, and re-uploaded it that the video finally took off. The CTR jumped to 7.2%, and the algorithm finally decided to push it to a broader audience.
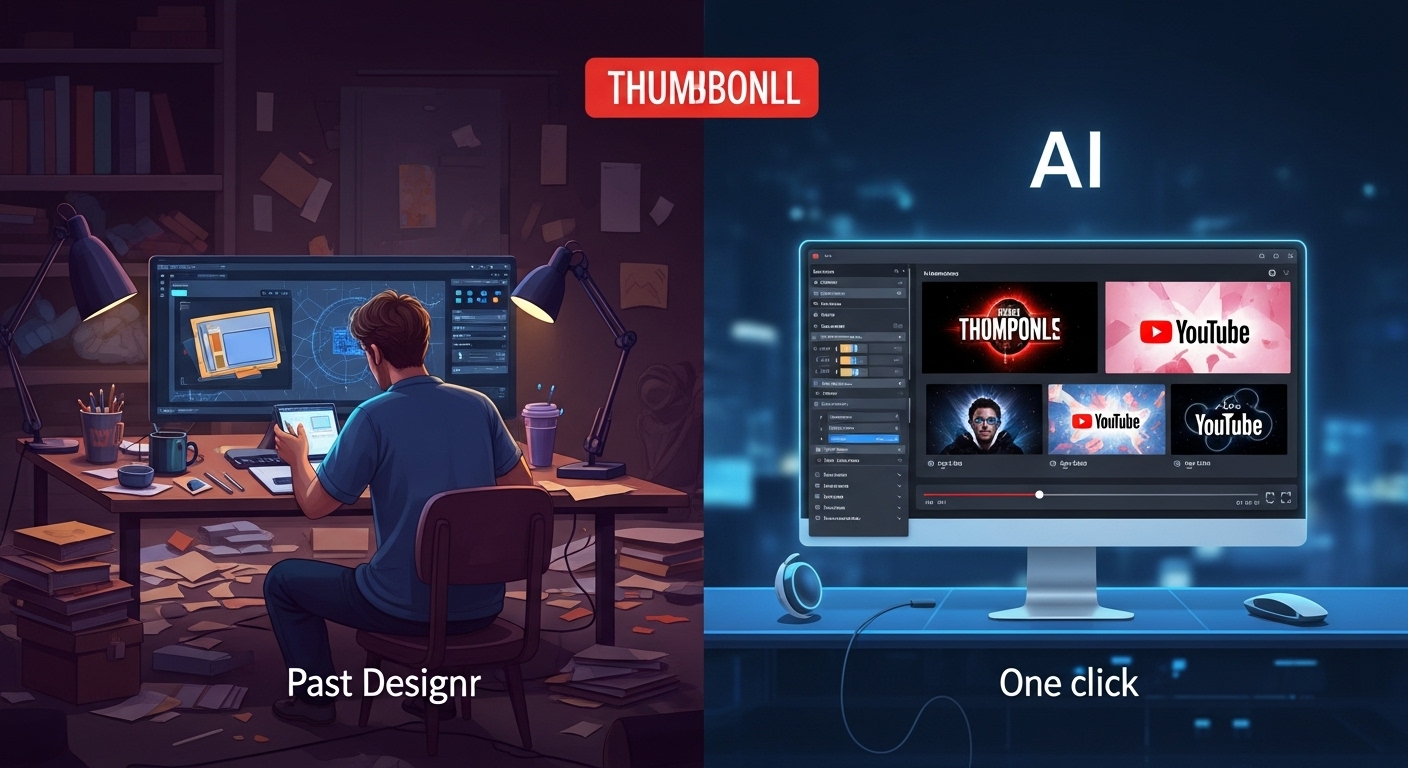
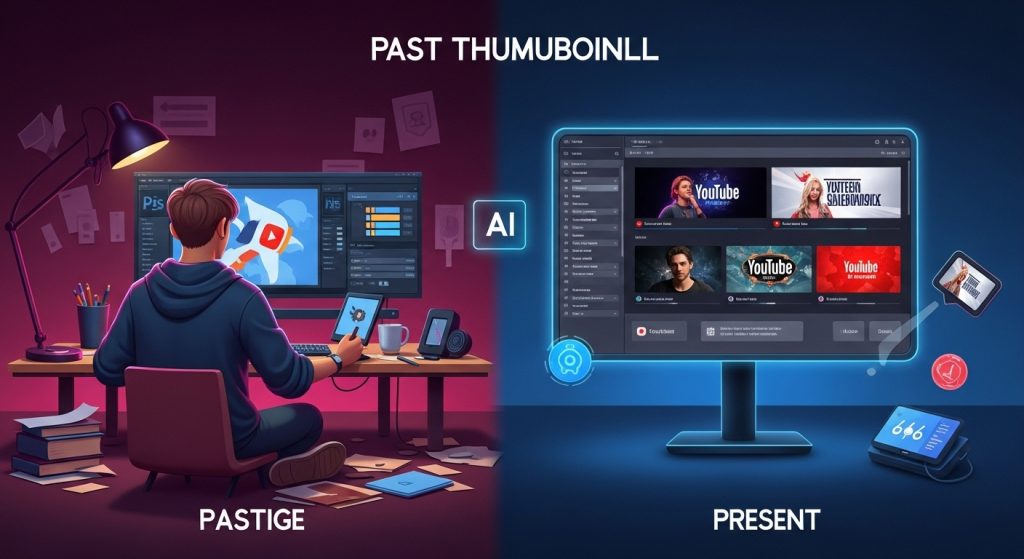
That was a few years ago. Back then, making a high-stakes thumbnail meant hours in Photoshop, manually cutting out backgrounds, dodging and burning skin tones, and hunting for stock assets that didn’t look cheap. Today, the landscape has shifted violently. We are in the era of automated design, and understanding the landscape of AI tools for video thumbnail editing is no longer a luxury—it is a requirement for survival in the creator economy
But here is the hard truth I’ve learned after testing dozens of these platforms: AI won’t save a flawed concept. It is a force multiplier, not a magic wand. If you don’t understand visual hierarchy, color theory, and curiosity gaps, an AI tool will help you make a bad thumbnail faster.
In this deep dive, I’m going to walk you through the workflow I use today. We aren’t just listing software; we are looking at how to integrate generative art, layout assistants, upscalers, and analytical prediction tools into a cohesive production pipeline. We will look at what works, what creates “uncanny valley” nightmares, and how to keep your human touch in a synthetic world.
Part 1: The Psychology of the Click (and Where AI Fits In)
Before we open a single piece of software, we have to talk about the human brain. The YouTube algorithm isn’t a robot; it’s a mirror of human psychology. It chases what we chase.
When a potential viewer scrolls through their feed, their eyes scan in an “F” pattern. You have roughly 1.5 seconds to stop the scroll. To do this, a thumbnail needs to achieve three things:
- Disruption: Break the visual pattern of the feed.
- Connection: Usually achieved through human facial expressions (eye contact).
- Curiosity: Presenting a question or a conflict that can only be resolved by clicking.
Where do AI tools for video thumbnail editing fit into this psychological framework? They allow us to manipulate reality to heighten these three elements. We can use AI to expand a background to make a subject feel smaller and more isolated (drama). We can use AI to merge two objects that shouldn’t exist together (curiosity). We can use AI to enhance the lighting on a face to ensure the eyes pop (connection).
The goal isn’t to let the AI design the thumbnail. The goal is to use AI to remove the technical friction between your brain’s idea and the final JPEG.
Part 2: The Generative Heavyweights (Creating Assets from Thin Air)
The biggest hurdle in thumbnail design is often sourcing the right imagery. You have a great idea—”a cyberpunk astronaut eating a taco”—but finding that stock photo is impossible, and setting up a photoshoot for it is too expensive. This is where generative AI has completely changed my workflow.
Midjourney: The Artistic Powerhouse
If you are looking for stylized, high-fidelity backgrounds or character concepts, Midjourney is currently the king of the hill. It’s not an app you install; it generally runs through Discord (though web interfaces are rolling out), which puts some people off, but the quality is unmatched.
My Experience:
I use Midjourney primarily for background generation and composite elements. For example, if I need an “abandoned library with glowing magical books” to place behind a tech reviewer talking about “forbidden knowledge,” Midjourney V6 yields photorealistic results that blend seamlessly with real footage.
- The Pro Tip: Always add the parameter –ar 16:9 to the end of your prompt. This forces the aspect ratio to match a YouTube video. If you generate a square image and try to crop it later, you lose too much resolution.
- Style Consistency: Use the –sref (Style Reference) parameter to maintain a consistent brand look across multiple videos. You can upload a previous successful thumbnail and tell Midjourney, “Make a new image, but keep this lighting and texture.”
- The Limitation: Midjourney still struggles with specific text. Never try to generate your title text inside Midjourney; it will look like alien hieroglyphics. Use it for the visuals, then bring it into a design tool for typography.
Adobe Firefly & Photoshop Generative Fill
This is the tool I use daily. Adobe integrated its Firefly model directly into Photoshop, and it is arguably the most practical AI application for thumbnails. It differs from Midjourney because it is designed to edit existing images rather than just creating new ones.
The “Generative Expand” Feature:
How many times have you taken a screenshot from your video to use as a thumbnail, only to realize the framing is too tight? Your face is cut off, or there isn’t enough “dead space” on the side to place your text.
With Photoshop’s Generative Expand, I can drag the crop tool outwards, type nothing, and hit “Generate.” The AI analyzes the pixels and extends the background perfectly. It builds more wall, more scenery, or more body, essentially uncropping the photo. It saves shots that were previously unusable.
Object Removal and Addition:
In a recent project, a vlogger had a messy room in the background of a significant reaction shot. Using the Lasso tool, we circled the pile of laundry and typed “clean hardwood floor with a potted plant.” Boom. The distraction was gone, replaced by a set-appropriate prop, with the correct shadows and depth of field.
DALL-E 3 (via ChatGPT)
While I find Midjourney’s aesthetics superior for realistic textures, DALL-E 3 has a superpower: Comprehension. You can talk to it conversationally. If you say, “Make the explosion bigger and put the cat on the left,” it understands spatial relationships better than most.
I often use DALL-E 3 for ideation and storyboarding. I’ll describe a concept, generate four variations, and send them to a client or creative director to ask, “Is this the vibe we want?” It creates polished drafts in seconds, allowing us to agree on a direction before we spend hours in Photoshop.
Part 3: The All-in-One Composition Suites
Once you have your assets, you need to assemble them. You need layouts, text, outlines, and shadows.
Canva (Magic Studio)
I used to be a design snob who looked down on Canva. I was wrong. For 90% of creators, Canva’s “Magic” suite is the most efficient path from idea to export. They have aggressively integrated AI tools for video thumbnail editing directly into their browser-based platform.
Key Features for Thumbnails:
- Background Remover: It’s one click and remarkably accurate, even with curly hair (the nemesis of masking tools).
- Magic Grab: This feature lets you select a person in a flat photo and move them around as if they were a separate layer. It automatically fills in the background behind them. This is massive for tweaking composition without having to start over.
- Magic Morph: You can type a prompt to change the texture of your text. Want your title to look like it’s made of slime? Or gold bullion? Magic Morph does this instantly.
Real-World Application:
I recently worked with a gaming creator who needed to turn around a thumbnail in 15 minutes. We used Canva to grab a frame, remove the background, slap a bold “gradient” layer behind him, and use the “Magic Write” to brainstorm punchy text hook alternatives. It’s not as granular as Photoshop, but speed is a currency in this industry.
Kittl
Kittl is the new kid on the block, and it is aggressively targeting the YouTube creator space. If Canva is for generalists, Kittl is for typography enthusiasts.
Thumbnails live and die by their text readability. Kittl’s text effects (warping, shading, metallic textures) are superior to Canva’s. They have AI vector generators that can create logos or icons (like arrows, circles, and shock emojis) that are infinitely scalable.
Why use it? If your thumbnail style relies heavily on the “magazine cover” aesthetic or intricate text layouts, Kittl’s templates and AI text manipulation feel much more professional than the standard drag-and-drop fare.
Part 4: The Face & Emotion Optimizers
Humans are biologically wired to look at faces. It’s an evolutionary survival trait. That’s why the “MrBeast face”—mouth open, eyes wide, high contrast—is so prevalent. It grabs attention. But what if your source photo is poorly lit or has a boring expression?
Magnific AI (Upscaling and Hallucination)
This tool blew up recently, and for good reason. It is an “image upscaler,” but unlike older tools that just sharpened pixels, Magnific “hallucinates” details.
If you have a blurry 720p screenshot of a face from a GoPro, Magnific can rebuild the skin texture, eyelashes, and eye reflections. It adds details that weren’t present in its training data.
Ethical and Practical Note: You have to be careful with the “Creativity” or “Resemblance” sliders. If you crank the creativity too high, the person stops looking like themselves and starts looking like a hyper-attractive celebrity cousin. I keep the creativity setting low (around 20-30%) to enhance clarity without changing identity. Viewers feel betrayed if the person in the video looks totally different from the thumbnail.
Adobe Neural Filters & Face-Swapping
In Photoshop, “Neural Filters” let you change facial expressions. You can turn a frown into a smile with the “Smart Portrait” slider. You can shift the direction of the eyes so the subject is looking at the camera.
The Danger Zone:
Tools like InsightFace (often used via Discord bots) are emerging that allow full-face swapping. I use this sparingly. The “Uncanny Valley” effect is real. If a viewer senses the emotion is fake, or the anatomy is slightly off, trust evaporates. However, for minor tweaks—like fixing a blink in a group photo so everyone has their eyes open—these tools are a production lifesaver.
Part 5: The Scientific Layer (Predictive AI)
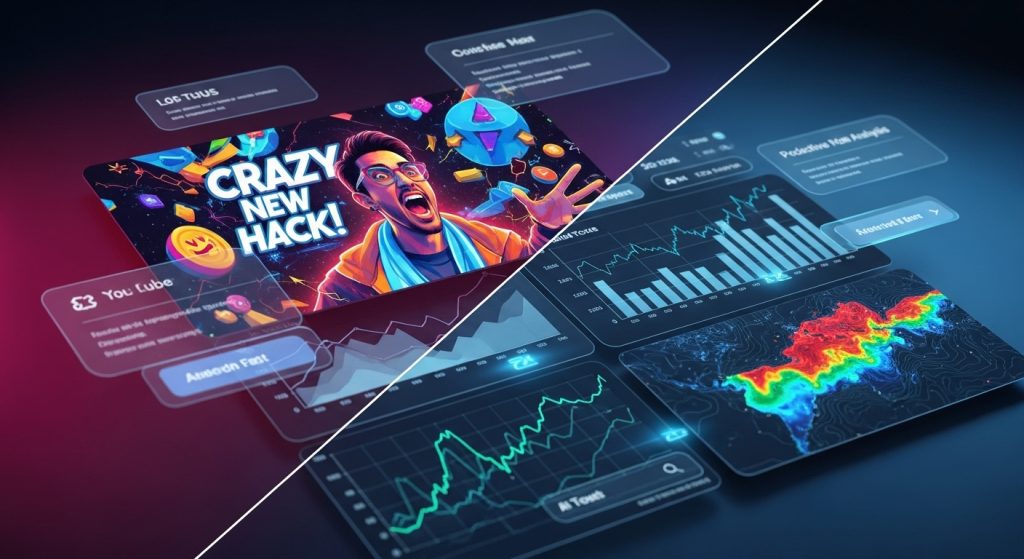
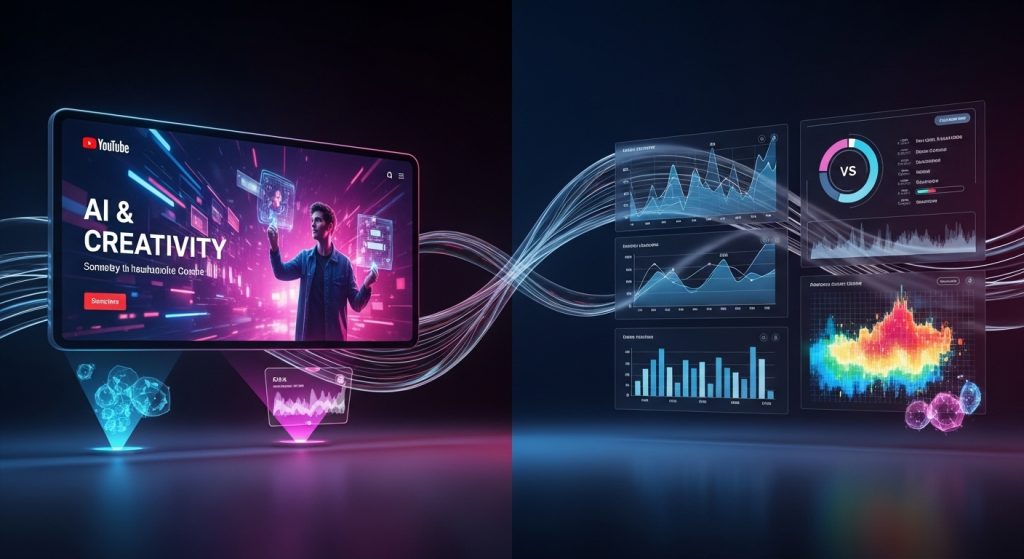
You’ve designed the thumbnail. It looks great to you. But will it click? This is where we move from art to data science. The most valuable AI tools for video thumbnail editing are sometimes the ones that don’t edit pixels at all, but rather analyze them.
ThumbsUp.tv
This isn’t a generative AI, but a visualization tool. You upload your thumbnail and title, and it shows you exactly how it will look on mobile, desktop, TV, and the sidebar.
This is critical because 70% of YouTube watch time occurs on mobile devices. Many creators design on a 27-inch 4K monitor, forgetting that their masterpiece will appear the size of a postage stamp on a smartphone—thumbsUp.tv forces you to check readability.
Thumbnail Test (formerly Thumbnail A/B Tester)
Platforms like Thumbnail Test let you run A/B tests. While YouTube is rolling out its own “Test & Compare” feature, third-party tools still offer deep insights and predictive scoring.
Some of these tools use predictive AI models trained on millions of high-performing videos. You upload your image, and the AI gives it a score based on facial visibility, text contrast, color vibrancy, and clutter.
My Case Study:
I ran a test for a tech review channel.
- Option A: A clean product shot with minimal text. (My personal artistic favorite).
- Option B: The host holding the product with a surprised face and a bright red arrow pointing at a specific button. (The cliché).
- Predictive AI Score: Gave Option B a 9/10 and Option A a 6/10.
We ran the live A/B test. The AI was right. Option B had a 30% higher CTR. It hurts my artistic soul, but the data doesn’t lie. High emotion + human faces + clear focal points usually win.
Vision AI (TubeBuddy / VidIQ)
These browser extensions have integrated AI that analyzes your thumbnail before you publish. They can generate heatmaps showing where a viewer’s eye is likely to land first. If the heatmap shows people looking at the corner of the room instead of your face, you know you have a lighting or composition problem to fix.
Part 6: A Professional Workflow Case Study
To give you a concrete idea of how to blend these tools, here is the step-by-step process I use for high-budget videos today. This workflow moves from concept to export, utilizing the best strengths of different AIs.
Step 1: The Concept & The Hook
Before I open the software, I write down three title ideas. The thumbnail must complement the title, not repeat it.
- Title: “I Survived 7 Days in the Desert.”
- Thumbnail Text: “No Water?” (Notice I didn’t write “7 Days in Desert”—that’s redundant).
Step 2: Asset Gathering & Enhancement
I scrub through the raw footage to find the “hero frame.” Let’s say the footage is a bit grainy because we were shooting in low light.
- I take a screenshot.
- I run it through Topaz Photo AI or Magnific to denoise and upscale it. Now I have a crisp 4K image to work with.
Step 3: Background Generation
If the real sky in the footage were dull and gray, I would go to Midjourney:
- Prompt: Vast desert dunes, scorching sun, heat distortion, hyper-realistic, cinematic orange and teal lighting –ar 16:9 –no people
- I generate four variations and pick the one with the best “negative space” for text.
Step 4: Composition in Photoshop (The Hub)
I bring the upscaled hero shot and the AI background into Photoshop.
- Select Subject: I use the Object Selection tool to cut out the host.
- Compositing: I place the host over the Midjourney desert background.
- Harmonization (Neural Filters): I use the “Harmonization” neural filter to match the host’s color temperature to the new background. This ensures they don’t look like a sticker slapped on top.
- Generative Fill: If I need to blend the host’s feet into the sand, I select the intersection and type “shoes buried in sand.” Firefly blends the lighting and shadows perfectly.
Step 5: Text & Visual Hierarchy
I added the text “No Water?”.
- I ensure the font is bold and sans-serif.
- I might use Firefly to generate a 3D water bottle that looks empty and crushed, placing it in the foreground to add depth.
- I add a drop shadow and a stroke (outline) to ensure the text separates from the background.
Step 6: The “Squint Test” & Analysis
I zoom out until the image is tiny. Can I tell what is happening? Can I read the text?
I then upload it to a predictive analyzer to check if the focal point is clear. If the heatmap is good, we export.
Part 7: The “Gotchas” – Where AI Fails
We need to talk about the limitations, because unthinkingly relying on AI ruins thumbnails. There are specific “tells” that signal low quality to viewers.
1. The Hands Problem
Despite updates, AI still struggles with fingers. Midjourney V6 is better, but it still occasionally gives people six fingers or weird knuckles. Always double-check hands. If they look weird, paint over them or crop them out. Nothing screams “low effort” like AI-mangled hands.
2. Text Hallucinations
Never trust an image generator to write your text. Even if it gets the spelling right, the kerning (spacing between letters) will likely be atrocious. Always do your typography manually in Photoshop, Canva, or Kittl.
3. Visual Clutter
AI tends to over-detail images. A Midjourney background can be too beautiful. It has so much texture and contrast that it distracts from the text and the main subject. I frequently apply a “Gaussian Blur” to my AI backgrounds to ensure the viewer’s eye goes to the face and the title, not the pretty mountains in the back.
4. Brand Consistency
If you use AI to generate a cartoon avatar for one video, and a different prompt for the next, your channel branding becomes a mess. You need to develop a “seed” or a consistent style guide if you want to use AI characters long-term. Viewers build a relationship with a consistent visual identity.
Part 8: The Ethics and Authenticity of AI Thumbnails
There is a growing debate in the creator community about “Clickbait vs. Click-fraud.”
- Clickbait promises a story and delivers it excitingly.
- Click fraud is lying.
If you use AI to put yourself in a location you never visited, or to show a finished product that doesn’t exist, you are eroding trust.
The Golden Rule: Use AI to enhance reality, not to fabricate it entirely (unless your channel is fiction/storytelling).
- Okay: Using AI to make the sunset more purple and dramatic.
- Okay: Using AI to clean up a messy room background.
- Not Okay: Using AI to put a celebrity in the thumbnail who isn’t in the video.
- Not Okay: Using AI to show a “finished build” of a project that actually failed in the video.
Audiences are getting smarter. They can spot the “glossy,” overly smooth look of AI skin. If your thumbnail looks too synthetic, some viewers will scroll past it, assuming the content is also low-effort, AI-generated slop. Maintaining a gritty, human texture in your images is becoming a competitive advantage. In fact, some top creators are swinging back to “lo-fi” thumbnails to signal authenticity.
Part 9: Future-Proofing Your Skills
The tools I am using today might be obsolete in six months. That is the pace of this industry. We are already seeing “Video-to-Thumbnail” AI, where you upload your raw video file, and the AI scans it to find the three most emotionally engaging frames, auto-crops them, and suggests titles.
However, the principles of design will not change.
- Color Theory: Complementary colors (Orange/Blue, Red/Green) will always pop.
- Rule of Thirds: Off-center compositions usually look better.
- Contrast: Bright things on dark backgrounds draw the eye.
Don’t just become an “AI Prompter.” Become a designer who uses AI. If you rely entirely on the tool to make creative decisions for you, you will eventually be replaced by a better tool. But if you use the tool to execute your unique creative vision, you become unstoppable.
Conclusion: The Human Eye is Still King
The AI tools for video thumbnail editing I’ve covered—Midjourney, Firefly, Canva, and Magnific—are incredible. They have reduced a three-hour workflow to 30 minutes. They have democratized high-end design, allowing a solo creator in a bedroom to compete with the production value of a massive media company.
But the algorithm isn’t just code; it’s the audience. It reflects human desires, fears, and curiosities.
AI can generate a dragon. It can swap a background. It can upscale a face. But it cannot understand irony. It cannot understand cultural context. It cannot understand the subtle humor of a specific facial expression that relates to an inside joke in your community.
The best thumbnail strategy involves using AI to handle the tedious technical execution—the cutting, the lighting, the expanding—so that you can spend your mental energy on the creative concept.
Master the prompt, but trust your gut. If a thumbnail makes you feel something—curiosity, shock, joy—it will work. If it just looks technically perfect but emotionally hollow, hit delete and try again.
Now, go open Photoshop (or Canva), and start experimenting. The click is waiting.